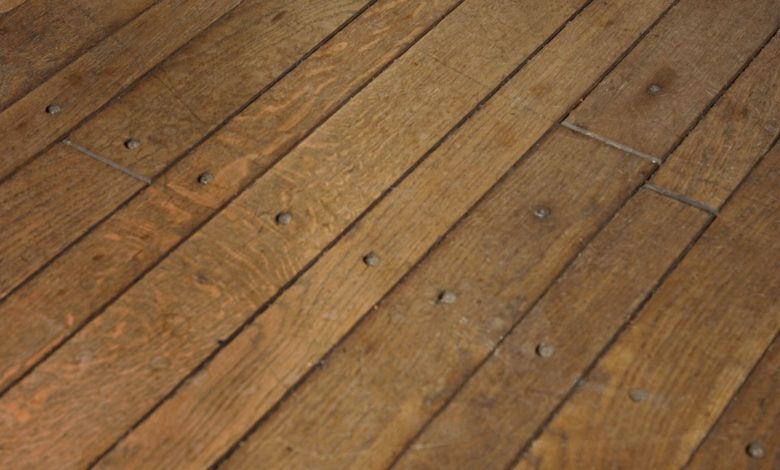
Scratches on hardwood floors will spoil the charm and appeal easily. Sanding and refinishing isn’t the only choice to extract them, depending on the nature of the scrape. Let’s look at the varying degrees of harm and how to handle each.
When designing their living rooms, often homeowners rely on decor and furnishing. Flooring is one aspect of every space you shouldn’t forget, however. The state and consistency of your floors influence the design of the room, and you’ll want to take measures to keep your floors in good shape. Fitted hardwood floors are exquisite in every house.
They give the lovely appearance of traditional wood flooring with the additional advantages of being thicker and more durable than solid hardwood. Although the hardwood is more resilient, it can also be prone to scratching, especially in high-traffic areas and busy homes with pets and children.
Significant Cuts and Gouges Patch
It needs much more time and effort to patch significant cuts and gouges in a wood surface. Sanding, restoring and refinishing of floors like these would be required. They will achieve this in one of two respects.
Finish the whole floor:
If the whole floor is coated with marks and gouges, this is a smart choice. A full sanding prevents marks but bears in mind that this would function only on natural wood floors. If you have a designed wood floor with a natural wood finish, make sure it has never been already sanded. This floors may be sanded either once or twice before sanding off any of the actual material.
This method is better left to a trainer if you don’t feel like managing it yourself.
Kindly dust hardwood floors.
Lacklustre wood can magnify the appearance of scratches and scratched areas — not to mention that dirt particles grounding through hardwood floors may contribute to worse scratches — so your first line of action should be comprehensive yet gentle cleaning. Stop brooms or abrasive scrub mats, and never splash water or liquid cleaner on a board. Instead, use a lightweight mop or cleaner to scrub mud, hair and surface particles (with the required attachment). To scrub, apply a quarter of water with two to four drops of liquid soap, blend in a spray bottle and mist your polyurethane-finished surface, then spread the product with a dry microfibre mop.
If you are struggling with a very small, superficial scrape that just penetrates the surface of the wood veneer and not the wood itself, you will be able to brush it away rather than using a patch kit for wax. Using really fine-grit sandpaper to achieve this job, then gently buff the scratch as you step in the direction of wood grain. Using a tack cloth to brush off dust and dirt until the sanding is complete.
Using pantry supplies as a cleaner:
A mixture of baking soda and olive oil may help minimize and eliminate wood scratches. Thoroughly clean the surface, then add moistened baking soda with few droplets of olive oil to marred regions. Wait 5 minutes, then softly buff in, using a fluffy sponge. Thoroughly wipe with a wet cloth and rinse with a towel.
Sand off wood panel scratches:
A little elbow grease will return vitality to wood floors. A sandpaper with refined grains is all you need to buff out damage. Next, sand down the field in grain position. You may need to reapply the stain you buffed away in the process, so pick a secret place (under the sheet, in a closet) to repair a wood stain that suits the colour of your board. Patch check a urethane finish until you’ve discovered the perfect mark.
The best hardware flooring would last for decades. In reality, marks of the highest standard will last up to a century. Any scratches are expected to grow with such a long lifetime and a house full of pets and teenagers. Carefully add one of the methods mentioned above to render marks vanish and keep your floors looking perfect for decades to come.